How do I install a lab table with a sink?
2025-03-19 18:22:53
Installing a laboratory table with a sink requires careful planning and precise execution to ensure safety, functionality, and longevity. This comprehensive guide will walk you through the essential steps and considerations for properly installing a lab table with sink, from initial preparation to final testing. Understanding these procedures is crucial for maintaining laboratory standards and ensuring efficient workflow in your research or educational facility.
A Lab Table with Sink installation involves several critical steps: site preparation, utility connections, leveling, and testing. First, ensure the installation area meets all requirements for water supply, drainage, and electrical connections. The table must be positioned to allow easy access to utility hookups while maintaining proper clearance for safety and maintenance. Carefully align the sink with existing plumbing infrastructure, ensuring proper slope for drainage. Level the table using adjustable feet or shims, then secure it to prevent movement. Finally, connect water lines, install trap assemblies, and test all connections for leaks before use.

Planning and Preparation Requirements
Site Assessment and Space Planning
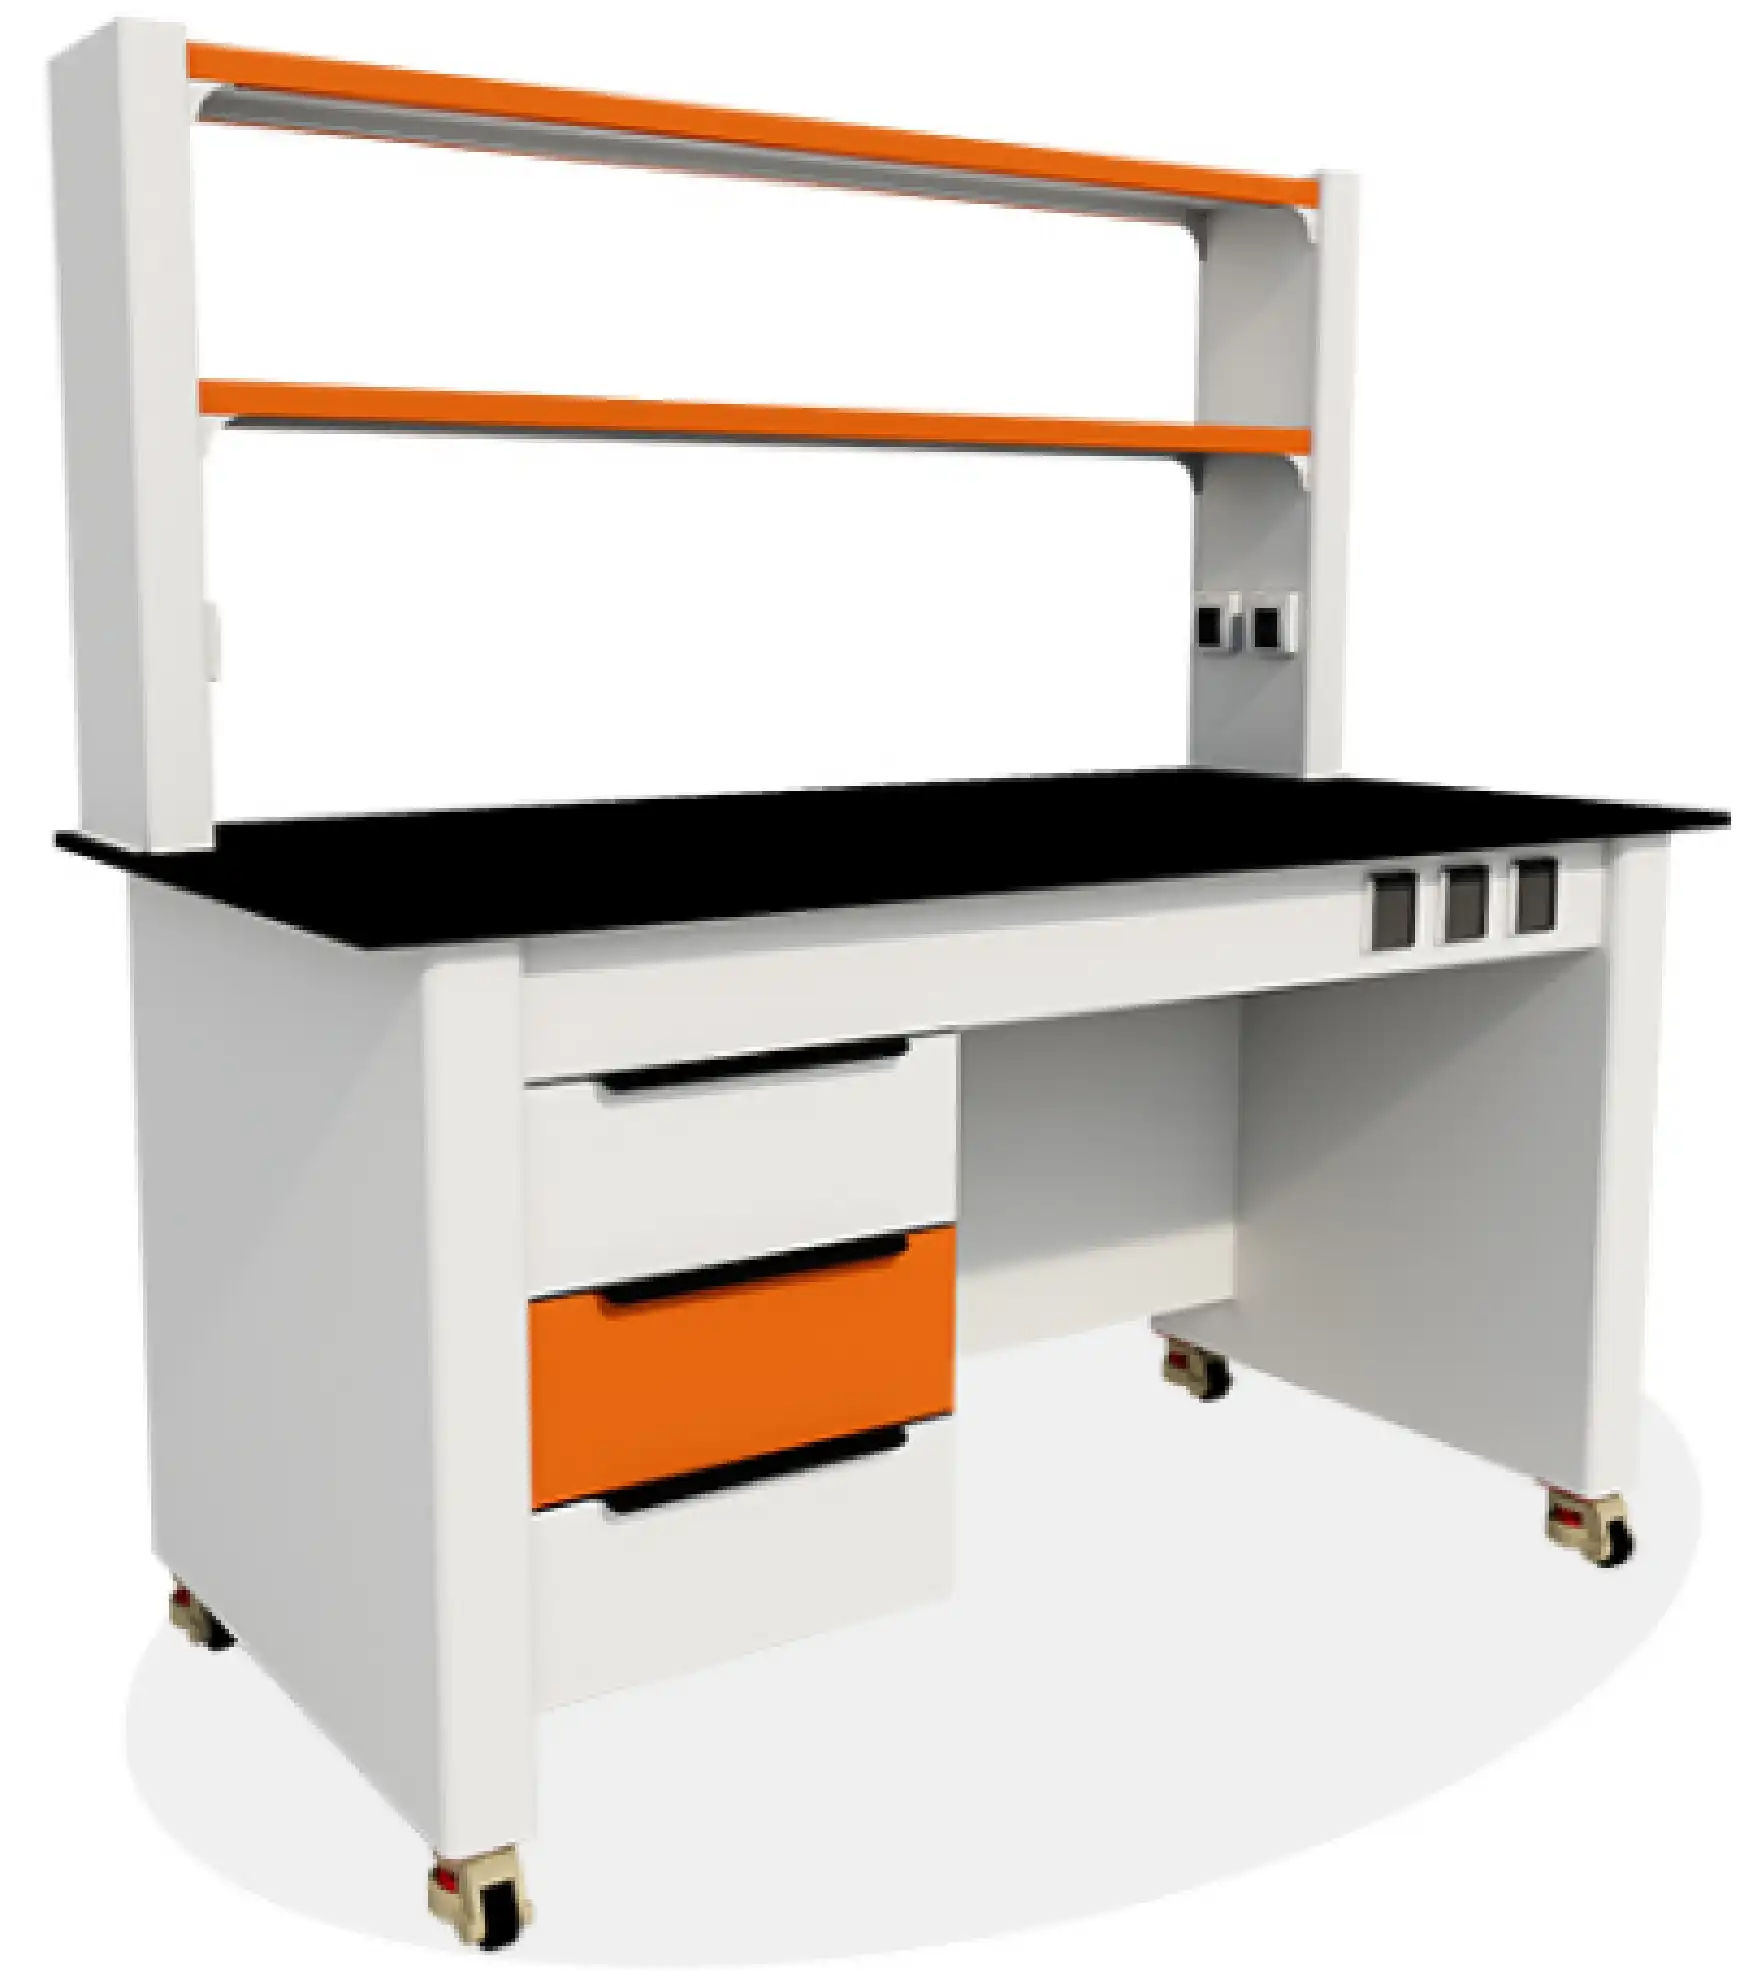
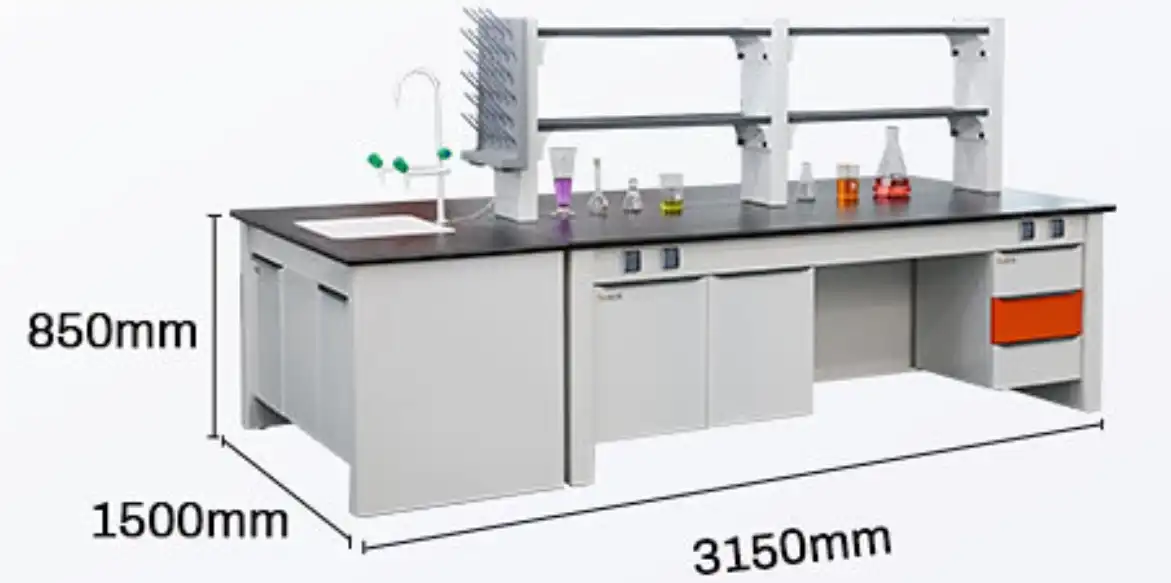
Laboratory tables with sinks are suitable for professional use in schools, hospitals, research institutions, and industrial facilities. Key features of these lab tables include different designs and configurations, such as hexagonal, corner, and island designs, to fit various laboratory layouts. When planning the installation of a Lab Table with Sink, conducting a thorough site assessment is crucial. Begin by measuring the available space, considering not only the footprint of the table but also clearance for comfortable movement and maintenance access. Evaluate the existing utility infrastructure, including water supply lines, drainage systems, and electrical outlets. Consider the floor loading capacity, especially for heavy equipment placement. Document the location of windows, doors, and other fixed elements that might affect placement. Additionally, review local building codes and laboratory safety regulations to ensure compliance. Create a detailed floor plan incorporating these elements to optimize workflow and safety. Consider future expansion needs and flexibility in your layout planning to accommodate potential changes in laboratory requirements.
Material and Tool Requirements
The successful installation of a Lab Table with Sink demands specific materials and specialized tools. Essential materials include plumbing fittings compatible with laboratory-grade fixtures, chemical-resistant sealants, mounting hardware rated for laboratory use, and appropriate pipe materials for water supply and waste lines. Tools required range from basic hand tools to specialized plumbing equipment: pipe wrenches, level indicators, power drills with appropriate bits, silicon guns for sealant application, and pressure testing equipment. Consider safety equipment such as protective eyewear, gloves, and appropriate footwear. Having a comprehensive checklist of materials and tools before beginning installation prevents delays and ensures proper execution. Include spare parts and additional materials for contingencies, such as extra gaskets, sealant, and mounting hardware. Proper tool selection and material preparation significantly impact the installation's quality and longevity.
Safety and Compliance Considerations
Installing a Lab Table with Sink requires strict adherence to safety protocols and regulatory standards. Begin by reviewing relevant safety codes, including chemical resistance requirements for materials, ventilation standards, and emergency access considerations. Ensure all materials and installation methods comply with laboratory safety regulations and building codes. Consider specific requirements for different laboratory types - chemical, biological, or physical science labs may have distinct safety needs. Document all safety measures and create an installation safety plan that includes proper personal protective equipment (PPE) usage, emergency procedures, and containment measures for potential spills during installation. Include provisions for proper waste disposal and material handling during installation. Maintain detailed records of compliance measures and safety certifications for future reference and inspections.

Installation Process Steps
Utility Connections and Plumbing
The installation of a Lab Table with Sink begins with proper utility connections, particularly focusing on plumbing systems. Laboratory tables with sinks are designed for professional environments, offering various configurations to suit different laboratory layouts. Start by identifying and marking all water supply lines and drainage points. Install shut-off valves for both hot and cold water supplies, ensuring easy access for maintenance. Use appropriate pipe materials resistant to chemical exposure, typically including PVC or polypropylene for waste lines and copper or stainless steel for water supply. Install trap assemblies with clean-outs for easy maintenance and proper venting to prevent siphoning. Consider incorporating specialized features such as vacuum breakers and backflow preventers to protect water supplies. Include service points for future maintenance access and ensure all connections meet local plumbing codes and laboratory standards.
Structural Support and Leveling
Proper structural support and leveling are crucial for the safe installation of a Lab Table with Sink. Begin by assessing floor load capacity and installing additional support if necessary. Use adjustable leveling feet or shims to achieve perfect horizontal alignment, essential for proper drainage and equipment stability. Install wall brackets or floor anchors as needed for additional stability, particularly for heavy use applications. Consider seismic requirements in applicable regions and install appropriate restraints. Use a laser level or precision bubble level to ensure accurate alignment across the entire surface. Install support brackets at recommended intervals, typically every 24-36 inches, depending on table length and load requirements. Document all support locations and leveling adjustments for future reference and maintenance.
Testing and Quality Assurance
Following installation, comprehensive testing and quality assurance procedures are essential for a Lab Table with Sink. Begin with pressure testing of all water supply lines to detect any leaks or weak points. Test drainage systems using measured water flow rates to ensure proper evacuation and no backup issues. Check all seals and joints for water tightness under various conditions. Verify proper operation of all fixtures, including faucets, drains, and any specialized equipment. Document flow rates and drainage times as baseline measurements for future reference. Test emergency shut-off systems and verify accessibility of all service points. Perform chemical resistance testing on seals and surfaces if required for specific laboratory applications. Create a detailed testing report including all measurements, observations, and any adjustments made during the quality assurance process.
Maintenance and Care Guidelines
Regular Maintenance Procedures
Laboratory tables with sinks require systematic maintenance to ensure optimal performance in professional settings. Establish a regular maintenance schedule including daily cleaning protocols, weekly inspections of all plumbing connections, and monthly thorough assessments of structural integrity. The Lab Table with Sink should undergo regular testing of water quality, particularly in facilities requiring pure or deionized water. Implement a preventive maintenance program including inspection of seals, joints, and support structures. Create detailed maintenance logs documenting all procedures performed, including dates, findings, and any corrective actions taken. Train laboratory staff in proper daily maintenance procedures and cleaning protocols. Develop emergency maintenance procedures for handling spills or equipment failures. Regular maintenance ensures longevity and maintains the table's chemical resistance and structural integrity.
Troubleshooting Common Issues
Understanding and addressing common issues with a Lab Table with Sink requires systematic problem-solving approaches. Create a comprehensive troubleshooting guide covering common problems such as slow drainage, leaks, surface damage, or stability issues. Document step-by-step procedures for identifying and resolving each type of problem. Include diagnostic tools and techniques for assessing various components of the system. Train users in basic troubleshooting procedures and establish clear guidelines for when to contact professional maintenance services. Maintain a log of common issues and their resolutions to build a knowledge base for future reference. Consider implementing a regular inspection schedule to catch potential problems before they become serious issues. Include emergency response procedures for critical failures that might affect laboratory operations.
Long-term Care Strategies
Developing effective long-term care strategies ensures the continued functionality and safety of your Lab Table with Sink installation. Create a comprehensive maintenance calendar incorporating both routine care and periodic major maintenance activities. Include procedures for evaluating wear patterns and anticipating replacement needs for components such as seals, fixtures, and surface materials. Consider environmental factors such as temperature fluctuations, chemical exposure, and usage patterns in planning long-term care strategies. Develop protocols for periodic professional assessment of structural integrity and system performance. Maintain detailed records of all maintenance activities, repairs, and modifications for future reference and compliance purposes. Include provisions for updating care procedures as laboratory needs evolve or new maintenance technologies become available.
Conclusion
Installing a Lab Table with Sink requires careful attention to detail, proper planning, and adherence to safety standards. From initial site assessment through final testing, each step contributes to creating a safe and efficient laboratory workspace. Regular maintenance and proper care ensure long-term reliability and performance.
Ready to enhance your laboratory with professional-grade furniture? Xi'an Xunling Electronic Technology Co., Ltd. offers custom-made lab tables with industry-leading 5-day delivery and 5-year warranty. Our OEM support ensures your specific needs are met with precision and quality. Contact us today at xalabfurniture@163.com for a comprehensive laboratory solution backed by our one-stop service commitment.
References
1. Johnson, R.M. & Smith, P.K. (2023). "Laboratory Furniture Installation Guidelines: A Comprehensive Approach." Journal of Laboratory Design, 15(2), 45-62.
2. Anderson, L.B. (2024). "Modern Laboratory Infrastructure: Installation and Maintenance Standards." Laboratory Safety Quarterly, 28(1), 12-28.
3. Thompson, H.R. & Davis, M.E. (2023). "Best Practices in Laboratory Furniture Installation." International Journal of Laboratory Planning, 9(4), 89-104.
4. Liu, W.X. & Zhang, Y.Q. (2024). "Quality Control Standards for Laboratory Equipment Installation." Laboratory Management Review, 31(2), 156-172.
5. Roberts, S.A. & Brown, T.C. (2023). "Laboratory Sink Installation: Technical Specifications and Safety Considerations." Technical Laboratory Methods, 19(3), 78-95.
6. Miller, J.D. & Wilson, K.L. (2024). "Contemporary Approaches to Laboratory Furniture Design and Installation." Journal of Scientific Workplace Design, 22(1), 34-51.
YOU MAY LIKE


